This section will document how to upgrade the firmware on the RAPTOR. This process takes approximately 45 minutes to execute.
To perform the tasks in this section, you will require physical access to the RAPTOR via the management Ethernet port. This connection requires an Ethernet cable with RJ45 terminations. You will need to be able to press the reset button (a paperclip is recommended). You will also need a serial console cable used to login to the device. For all upgrades it is recommended that user’s backup their current running configuration prior to commencing the upgrade process.
Tera Term software was used in this procedure. It may be downloaded at https://ttsh2.osdn.jpValid Upgrade Paths
If the release that your device is running is not listed in the Supported Upgrade Paths table, it is recommended that the iS5Com support team is contacted for more detailed instructions.
This procedure has been validated against release 1.13.05
- Optionally, you may choose to upgrade the RAPTOR firmware.
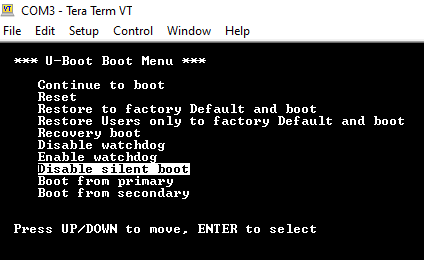
- Hold the reset button for more than 2 seconds and
use the u-boot menu to disable the silent boot by navigating to
the option and pressing Enter.
- The boot process will continue, interrupt the execution
when the following prompt is displayed by pressing ‘X’.

A Linux login prompt will appear.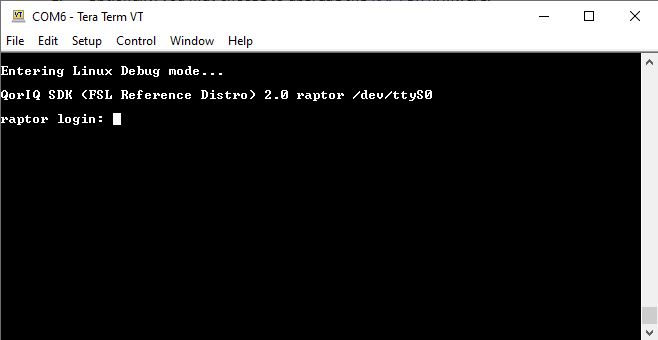
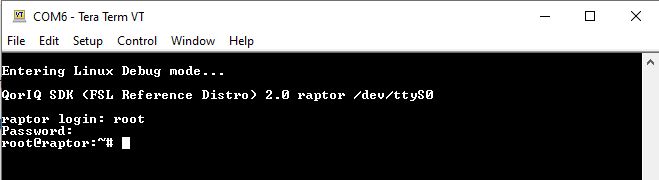
The following prompt will appear.
- Hold the reset button for more than 2 seconds and
use the u-boot menu to disable the silent boot by navigating to
the option and pressing Enter.
- Set the IP address on the management
port.
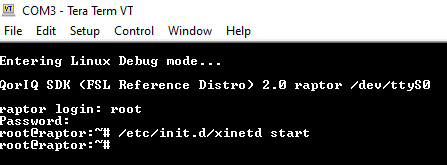
- Execute the following command from the serial
console.
/etc/init.d/xinetd start
The extended Internet service daemon has been started.
- Execute the following command from the serial
console.
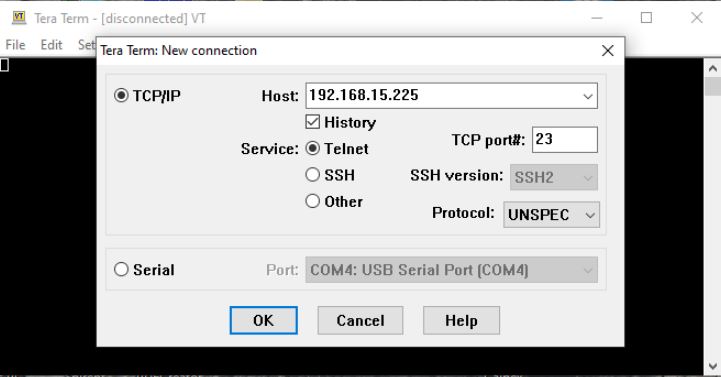
- Open a new instance of Tera Term and select Telnet as
the protocol with the IP address of the device configured in Step 2.
Then press the OK button.
The Tera Term new connection screen.
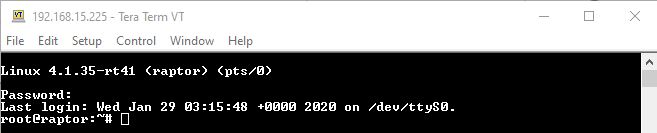
 The Linux shell login prompt will appear.
- Login to the Linux shell by typing your Admin level password
at the prompt.
The screen will look similar to the following.
- Use Tera Term to upload the file to the RAPTOR by
selecting the menu option “File->Transfer->XMODEM->Send”.
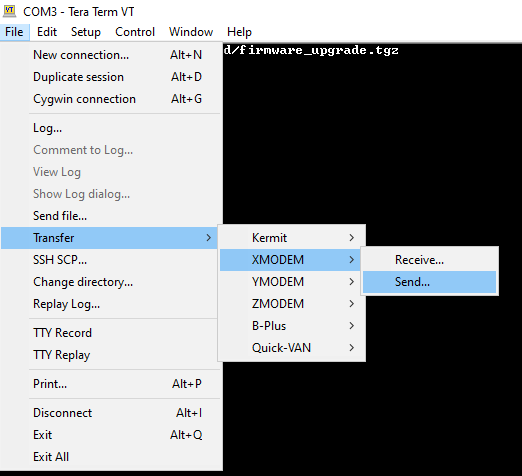 The following screen will appear.
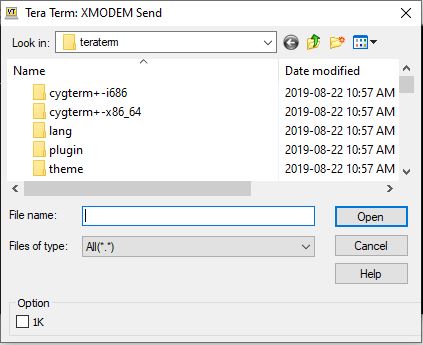
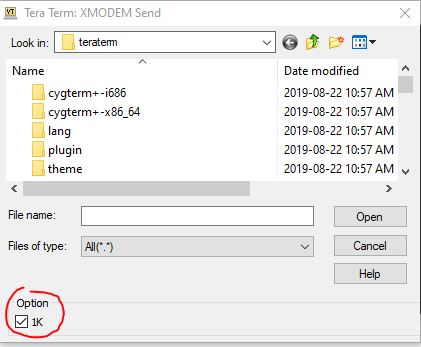
- Select the 1K box at the bottom left of the screen. This
will significantly reduce the file upload time.
The following image highlights the 1K box being selected.
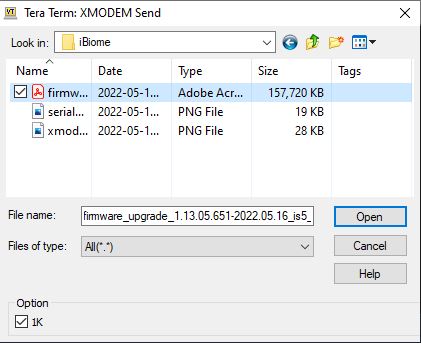
- Navigate to the firmware upgrade file you wish to upload,
select it and then press Open.
A screen similar to the following is typical.
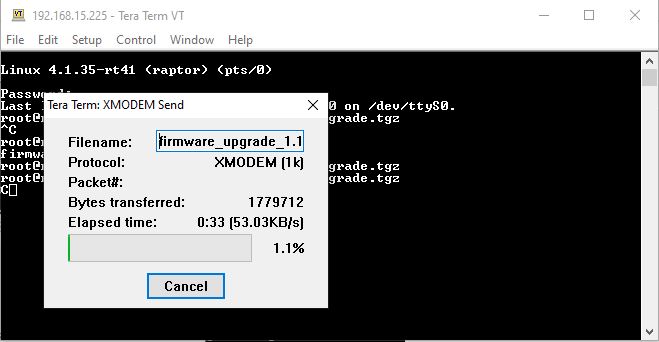
Once Open is pressed the upload will commence. This will take some time to complete.
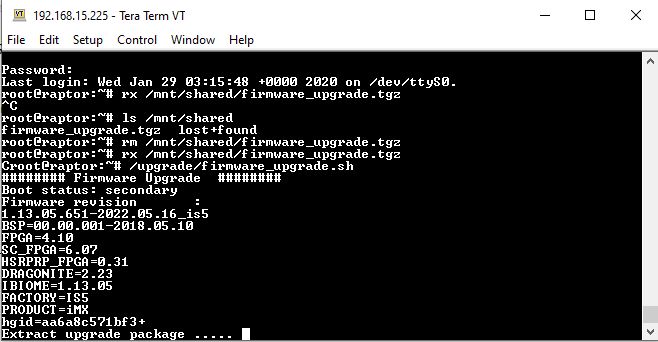
- Execute the following command to perform the firmware
upgrade.
/upgrade/firmware_upgrade.sh
- Wait until the upgrade completes. The Telnet connection
will close as the device reboots as part of the upgrade process.
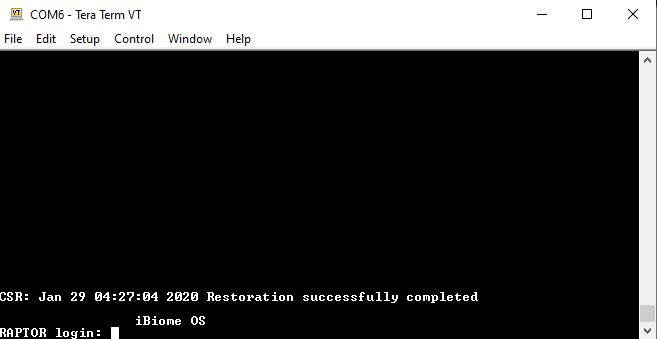
The login prompt will appear on the serial Tera Term connection.
- Login to the RAPTOR and
execute the reload command. Enter ‘Y’ when prompted.

The RAPTOR has been upgraded and users may now login to it.