The following sections describe how the serial console interface on the MicroRAPTOR is used to configure an IP Address, save a configuration, and upgrade the firmware.
- Note:Form a serial connection from your computer to the console port of the MicroRAPTOR, by attaching the console port to the USB port of your laptop or PC and the RJ45 termination to the console port on the MicroRAPTOR.
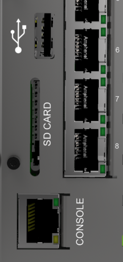
The connection details
and the Console ports are shown below. A Cisco Console cable is used to connect between the PC and the MicroRAPTOR console port.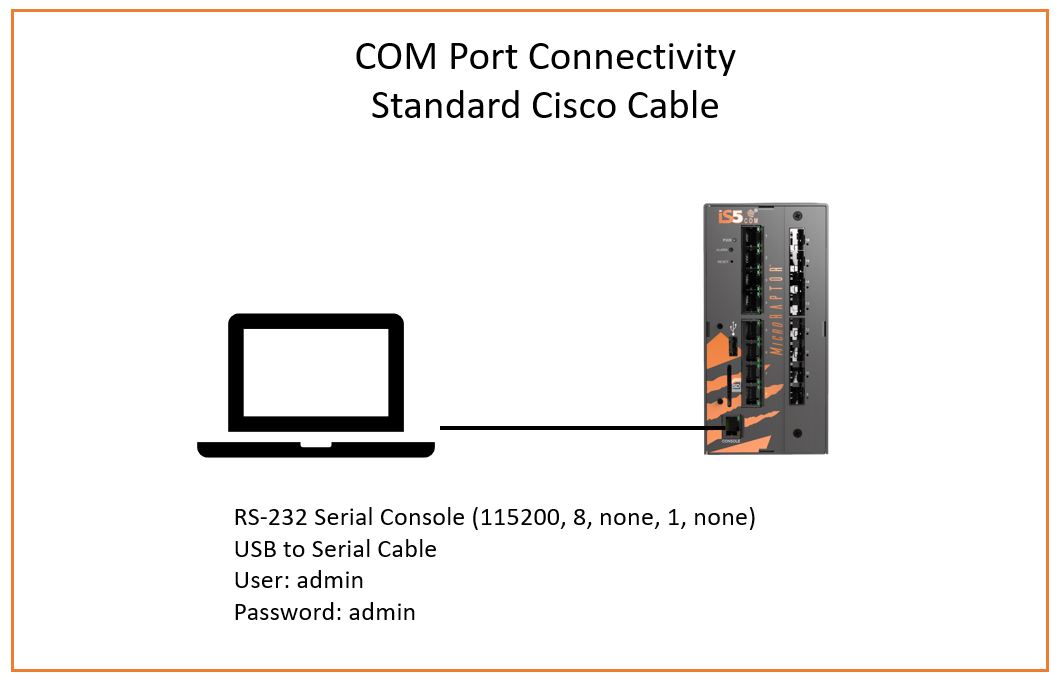
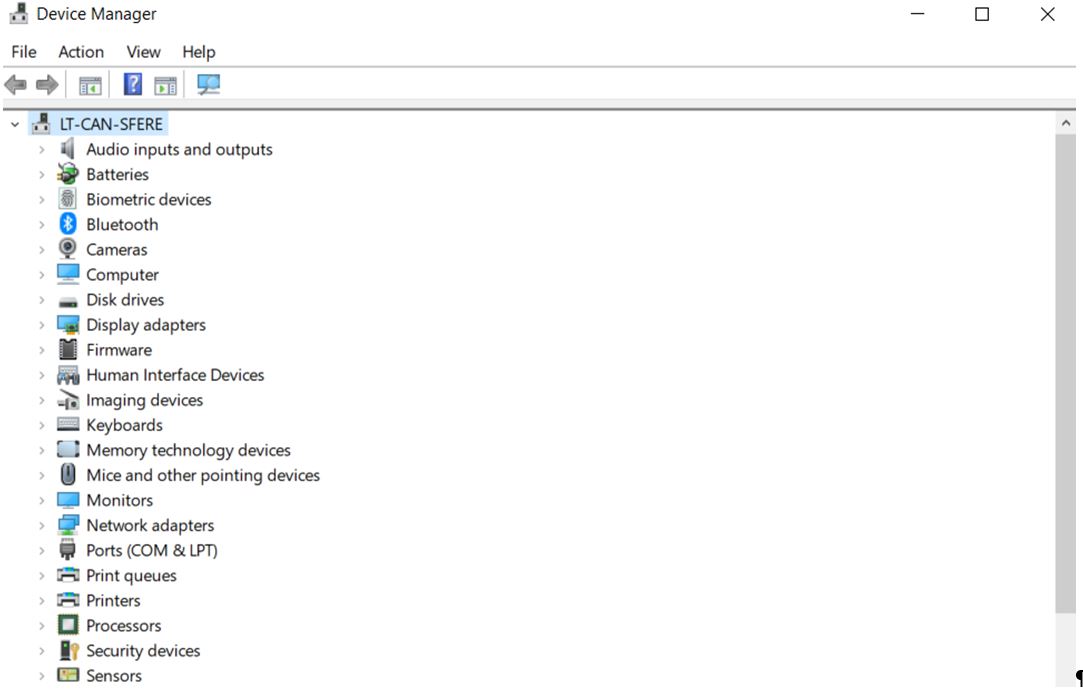
- To determine the communications port being used on your
computer, open Device Manager on your PC
or laptop.
- Open Device Manager.
- Navigate to Ports to determine
which COM number the serial connection is using. You may have to
unplug and reinsert the USB connection on your PC to make a determination
of which COM number has been assigned to your serial connection.
When the Ports leaf is exanded it will appear similar to the image below.

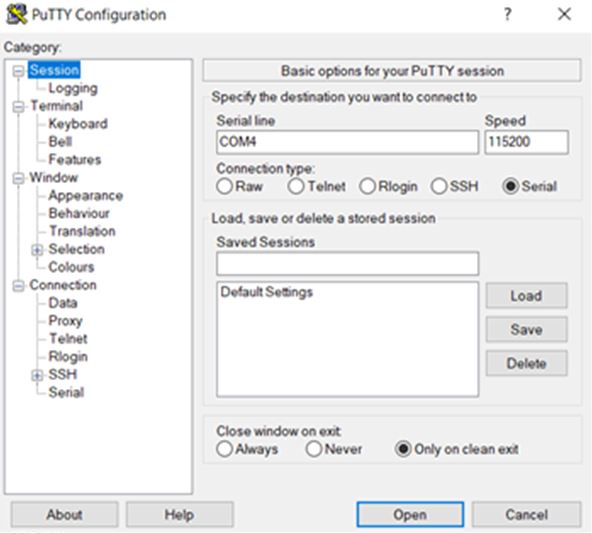
- Putty can be configured by selecting the type of connection,
entering the port number, and setting the baud rate.
- Additional serial parameters can be configured in Putty by selecting the Serial category found at the bottom of the Category panel.
- Note:You should confirm in Putty’s user interface that it has been configured with the appropriate Baud rate, Data, Parity, stop and flow control values.The serial port configuration is as follows:
- Baud rate: 115200
- Data: 8
- Parity: none
- Stop: 1
- Flow Control: none
- Click Open to launch a terminal.
A blank terminal window will appear.

- Press Enter.
The login prompt will apear.
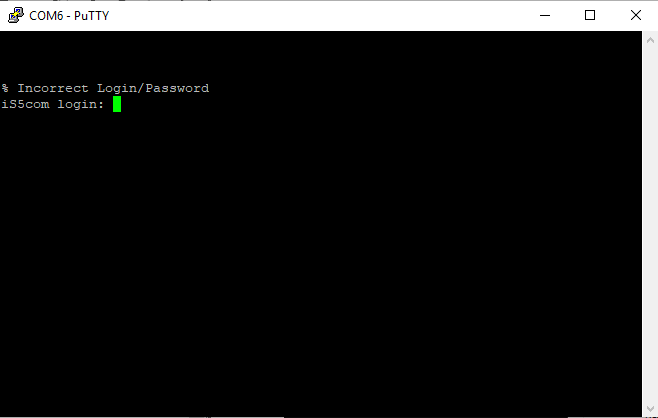
You have logged into the MicroRAPTOR via the console port.