This section will explain how to upgrade the MicroRAPTOR firmware. This process takes approximately 20 minutes to execute when there is a fast network connection between the TFTP server and the MicroRAPTOR.
To perform the tasks in this section, you will have already logged into the MicroRAPTOR via the Web UI. For all upgrades, it is recommended that user’s backup their current running configuration prior to commencing the upgrade process.
A TFTP server must be installed on a device with network connectivity to the MicroRAPTOR. There are a number of commercial and free TFTP server options available. For this example Tftpd64 was used as the server. It may be downloaded from this site: https://pjo2.github.io/tftpd64/
If the release that your device is running is not listed in the Supported Upgrade Paths table, it is recommended that the support team is contacted for more detailed instructions.
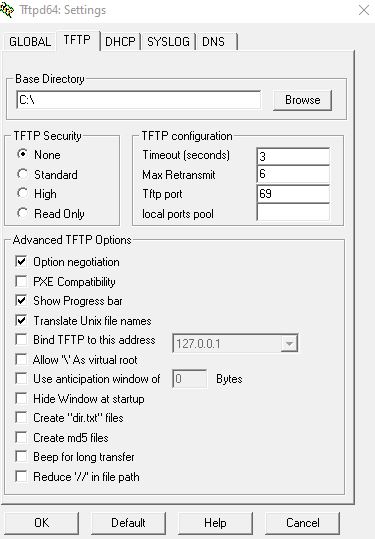
- Configure the TFTP server such that its base directory
contains the firmware file you wish to upload. Depending on the
server software you are using there may be more settings that need
to be configured.
This is a screen shot of theTftpd64 settings screen.
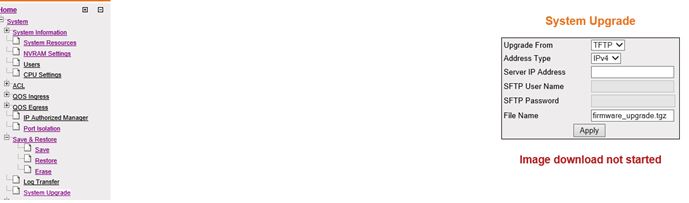
- To Upgrade a Configuration from TFTP navigate to the
Upgrade page.
Go to
The MicroRAPTOR upgrade is complete.